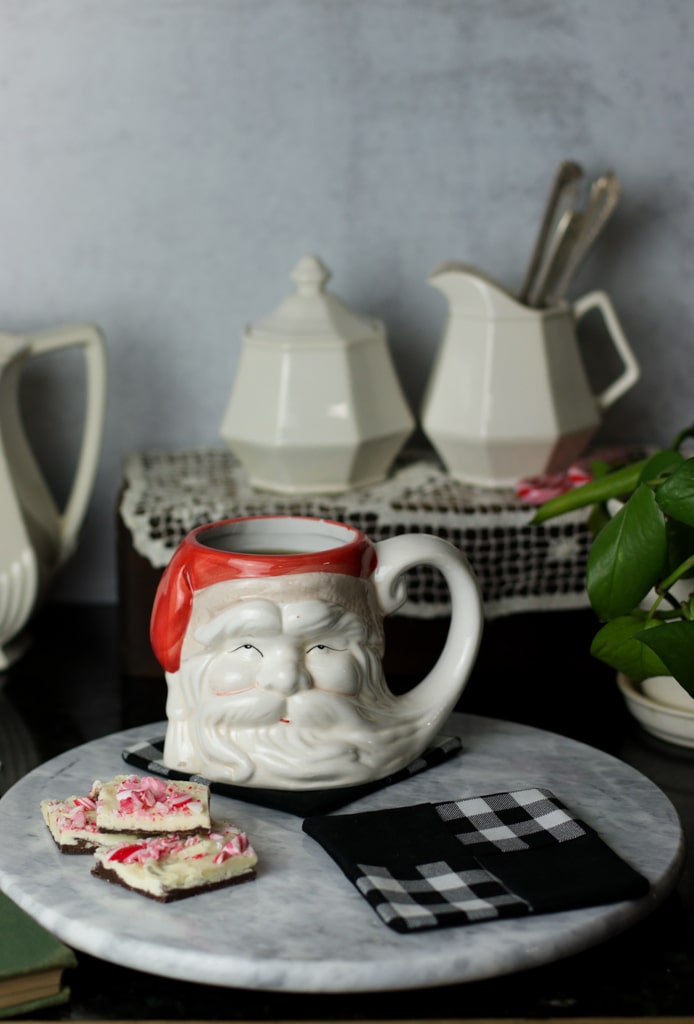
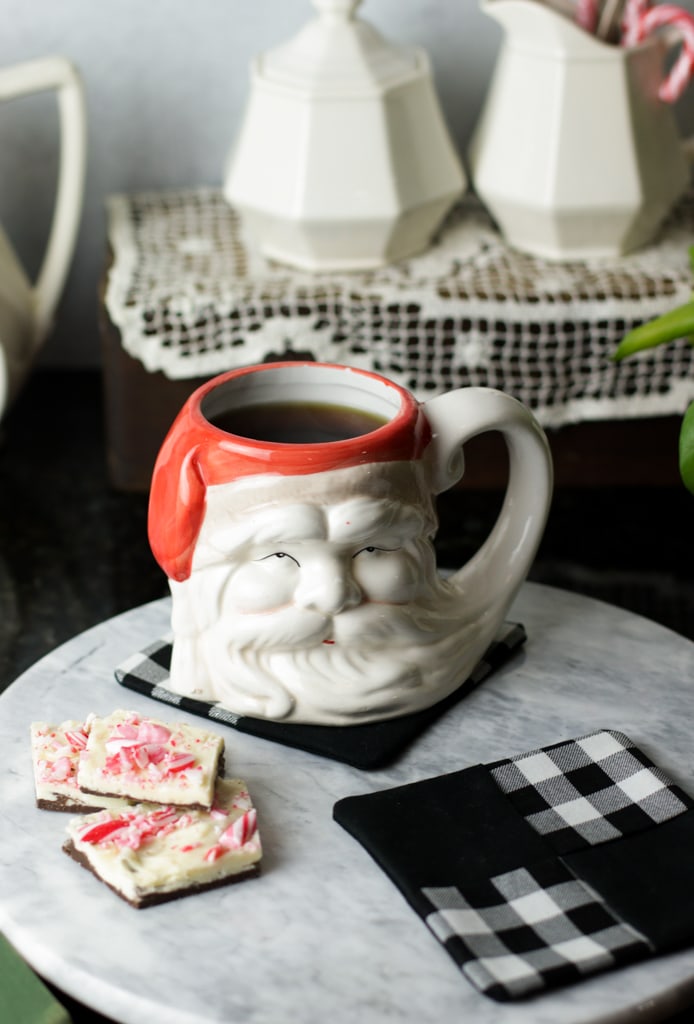
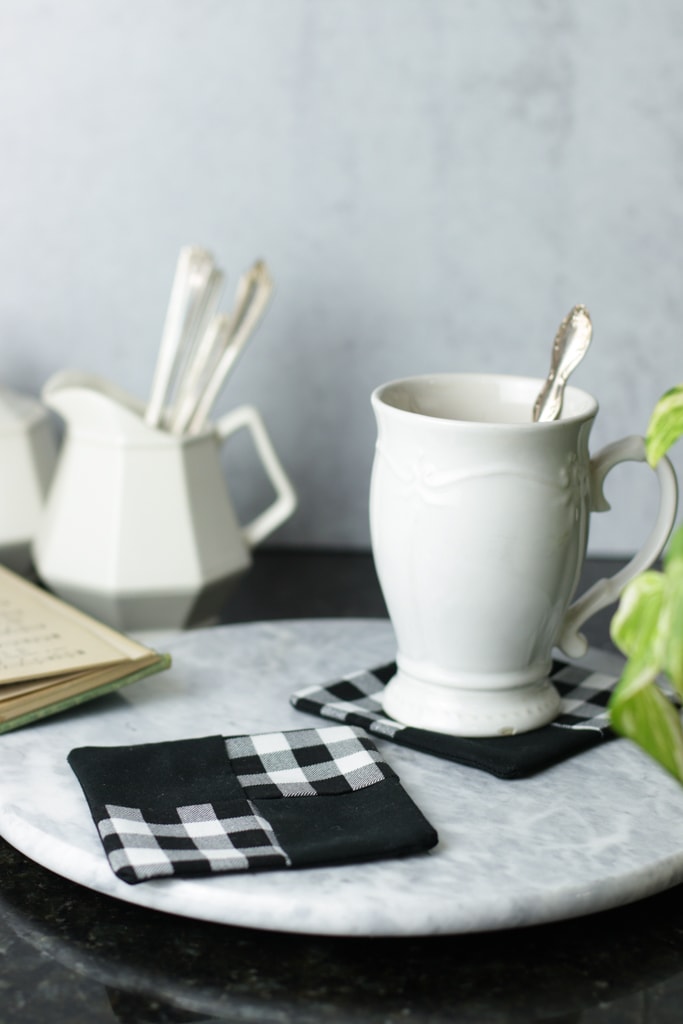
DIY Fabric Coasters
These DIY fabric coasters are so quick and easy to make, you can make a whole set in less that one hour.
Handmade Coaster Make A Quick and Easy Gift
With Christmas only a few weeks away you have plenty of time to make several sets of these cute coasters to give as gifts. They are so easy if you can sew a 5 inch long line you can make these coaster they are easy peasy!
These DIY Coasters Are A Great Beginner Project
If you are an experience seamstress or just learning this is a great project for you to make. It looks so much more complicated than it really is. You will impress yourself with your finished coasters.
Tools you’ll need
Choosing the Fabrics For A Fabric Coaster
The fabric you choose is really going to determine what your coaster will look like. Choosing one fabric will make a nice coaster. Choosing two coordinating fabric one light and one dark will really make your coaster “pop” or really stand out. It will also give your coaster a more quilted look. Did I mention that I learned how to make these at a quilting retreat?
Handy tip:
You can purchase a pack of coordinating precut 5″ fabric squares. They are called charm packs or charm squares. Check your local fabric store or quilt shop.
See How To Make Easy DIY Fabric Coasters

Handmade Fabric Coaster
Equipment
- Sewing Machine
- Scissors
- Ruler
Ingredients
- 5 5" fabric squares For a constrast coaster as shown, you will need to light squares and two dark squares and one square for the back, either color.
- 1 spool sewing thread to match fabric
Instructions
- Either purchase precut 5" squares or cut 5 – 5" squares from your fabric. 2 from one fabric and three from the other fabric.
- Press each fabric square after cutting
- Next fold and press 4 of the fabric squares in half, matching up the unfinished edges.
- Begin laying the folded squares over the unfolded square again lining up the raw edges. Start with a light folded square.
- Add a dark folded fabric square starting a one corner of the light square you just laid down.
- Add another light folded fabric square over the dark one you just placed down.
- Lastly add the other dark folded fabric square over the last light one that you just laid down. This time you will lift up the uncovered part of the first folded square you laid down and tuck the dark square you just added under that first light folded square. You should now be able to see the complete pattern.
- Check to make sure that the all of the folded pieces meet evenly in the middle. Add a few straight pins to keep everything in place while you sew.
- Take your pinned coaster to the sewing machine and stitch a 1/4" seam allowance all the way around the outside edge of the coaster, removing the pins as you go around. Be sure to lock the stitching in place by backstitching where you start and stop.
- Next clip the point off of each corner carefully with the scissors, making sure not to clip the sewing thread.
- Now turn each of the sewn pieces of fabric to the right side out position and use a pointed object to reach into each corner to push those corners out. I used the tip of my scissors. Be sure not to push to hard and punch a hole in your coaster.
- Press the coaster again flat and you are finished!